By Kourtney Osborn-Vallee

Distress Boo Tag
- Materials
- Instructions
- Ranger Non-Stick Craft Sheet™
- Ranger Glossy Accents™
- Tim Holtz® Distress Glitter: Black Soot
- Tim Holtz® Distress Ink Pads: Ripe Persimmon, Walnut Stain, Wild Honey, Vintage Photo, Black Soot
- Perfect Medium™
- Tim Holtz® Distress Stains™: Brushed Pewter, Dusty Concord
- Ranger Mister
- Ranger Heat it™ Craft Tool
- Tim Holtz Alterations by Sizzix: Gothic Boo and Branch Tree Bigz Dies; Mini Bat and Skull Movers and Shapers Dies
- Sizzix Big Shot Machine and Movers & Shapers Platform
- Stampers Anonymous Tim Holtz Grid Blocks
- Stampers Anonymous Tim Holtz Collection: Mini Halloween Stamp CMS093
- Tim Holtz idea-ology Tiny Attacher
- May Arts Ribbon: Web
- Fabric: Black Tulle, Bleached Muslin
- Chipboard
- Bazzill: White Cardstock
- Clear Pop Dots
- Adhesive
Instructions
1. Die cut all Halloween embellishments out of medium weight chipboard using Sizzix big shot machine and Sizzix dies.
2. Using Black Soot Distress Paint, Paint the “Boo” and “Bat” die cut using the dauber on top of the bottle. Let dry. Cover the entire surface of both chipboard pieces with Glossy Accents and pour Black Soot Distress Glitter over the top. Tap off excess glitter and let dry.
3. Apply a medium layer of Picket Fence Distress Crackle Paint to the skull chipboard piece. Let air dry.
4. Once paint is dry, take a Blending Tool and pounce Black Soot Distress Ink into the cracks. Take a damp towel and gently wipe the black ink off of the white paint. The black ink will stick into the cracks and really make them pop.
5. Use a Blending Tool and apply Ripe Persimmon Distress Ink to the numbers “31”. Squeeze a small amount of Spiced Marmalade Distress Stickles onto chipboard piece and then spread out with finger. Let dry. With Blending Tool, ink the edges with walnut stain ink pad.
6. Apply Perfect Medium directly to the entire surface of the chipboard tree. Pour on Vintage Photo Distress Embossing Powder and tap off excess. Heat to set. Gently rub embossed tree with finger to release distress crystals. Use a Blending Tool and apply Vintage Photo Distress Ink to exposed chipboard.
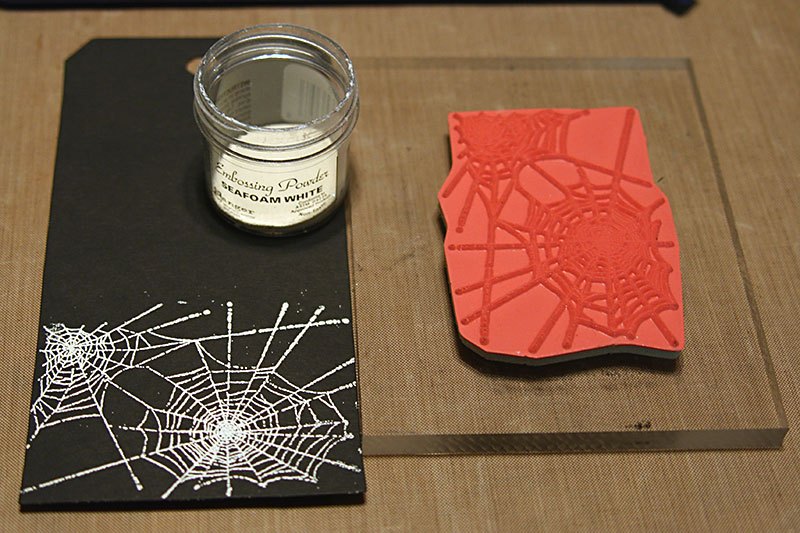
7. Stamp spider web with Perfect Medium onto black #8 tag background. Cover stamped image with Seafoam White Embossing Powder. Tap off excess powder and heat set.
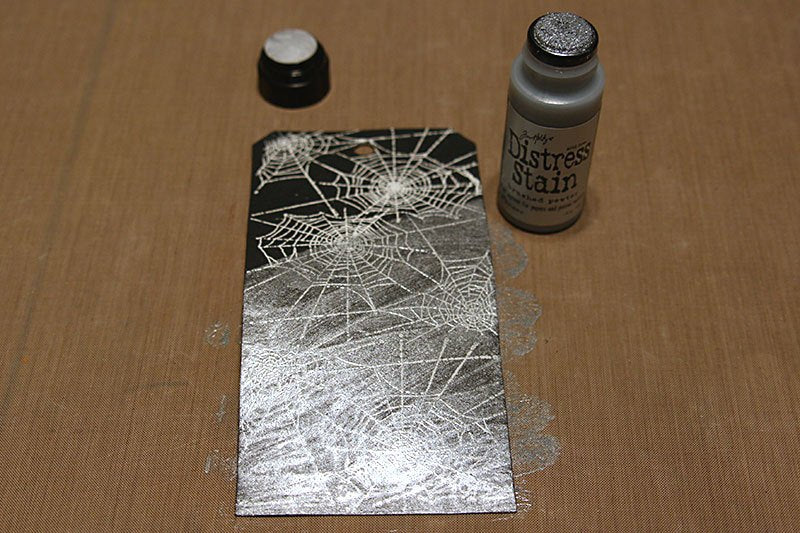
8. Over entire tag surface, apply Brushed Pewter stain. The white embossing powder will resist the stain. Ink the edge of the tag with Black Soot Distress Ink and Blending Tool.
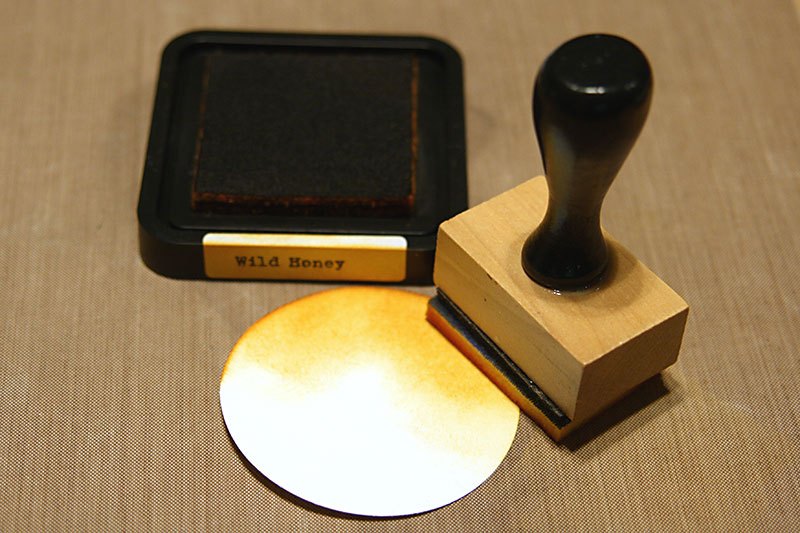
9. Cut a 2 ½ inch circle from white cardstock. Use Blending Tool and ink entire circle with Wild Honey Distress Ink Pad. Spray the surface with Biscotti Perfect Pearl Mist. Ink edge of circle with Black Soot Distress Ink.
10. Take bleached muslin fabric and fray the edges. Mist fabric piece with water. Run the Dusty Concord Stain down the fabric strip. Dry with Heat Tool.
11. Time to assemble. Pop part of the moon and glue the rest flat to the top right corner of tag. On top of the moon glue flat the die cut bat and numbers 31. Next glue the bottom of the tree to the tag and leave the branches loose. Using a tiny attacher, staple “Boo” to the bottom overlapping the tree. Use clear pop dots to adhere the skull to the bottom right corner.
12. For the fibers. Fold the black tulle in half and run through the hole in the top of the tag. Thread the purple fabric and web ribbon through the loop. Use the heat it tool, to heat up the black tulle and make it crinkle.


