This crafty pumpkin is quick, easy, and requires no adhesive!

Distressed Pumpkin Home Décor Project by May Flaum
- Materials
- Instructions
- Tim Holtz® Distress Stains™: Mustard Seed, Ripe Persimmon, Spiced Marmalade
- Ranger Non-Stick Craft Sheet™
- Pumpkin
- Leaves
- Flowers
- Foam Brush
- Straight Pins
Instructions
1. Cover the pumpkin with a thin coat of Distress Paint in Picket Fence.
2. Once dry, use Spiced Marmalade and Rusty Hinge paints to cover the pumpkin.
3. Take Walnut Stain Distress Paint and apply to the creases in the pumpkin.
4. While your pumpkin is still wet, dab Ripe Persimmon distress stain with a foam brush all over the pumpkin and set aside to dry.
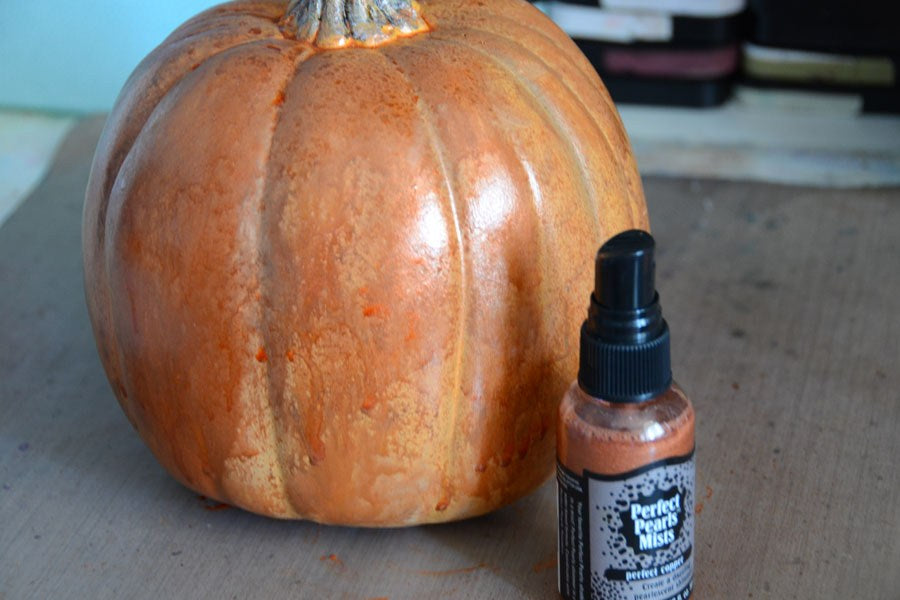
5. Once dry, spray with Perfect Copper Perfect Pearls mist and set pumpkin aside.
6. Apply distress paints or stains to your craft mat, and drag fabric leaves through the color. Make mixtures of oranges, yellows and greens for fall colors. If some metallic accent is desired, edge leaves with gold or mix gold paint into the color directly. Set aside to dry.
7. Repeat this process with flowers. If the flower has a lot of petals you may need to directly apply Distress Stain for better coverage.
8. If the flowers or leaves have stems, push them directly into the pumpkin where desired. Otherwise, use small pins to pin leaves and flowers into place. If more shimmer is desired, give the finished project a misting of Perfect Pearls mist in Perfect Copper.


