By Marjie Kemper

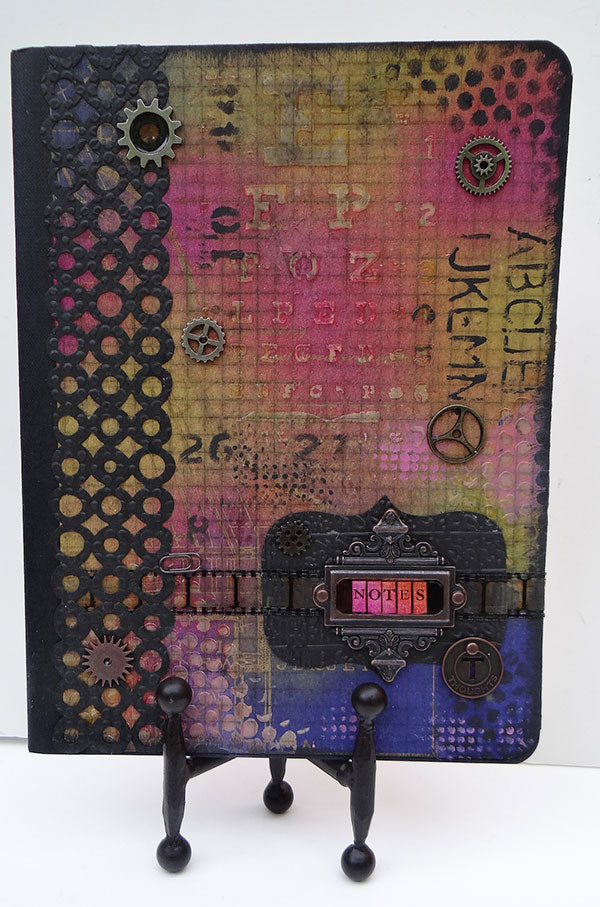
Dylusions/Distress Altered Composition Notebook
- Materials
- Instructions
- Dylusions Ink Sprays: Lemon Zest, Squeezed Orange, Bubblegum Pink, After Midnight
- Tim Holtz® Distress Ink Pads: Picked Raspberry, Spiced Marmalade
- Ranger Non-Stick Craft Sheet™
- Ranger Glossy Accents™
- Tim Holtz Idea-ology: Kraft Resist Paper Stash, Film Strip Ribbon, Ornate Plate, Sprockets, Gears, Mini Gears, Muse Token, Paperclip, Long Fasteners
- Tim Holtz Alterations by Sizzix: Vagabond machine, Styled Label die, Washer Border die, Dot Matrix Texture Fade, and Collage Texture Fade
- Composition Notebook
- Xyron® 9” Creative Station
- Crop-a-Dile Corner Chomper
- Golden gel medium
- Making Memories tiny alphabet stickers
Instructions
Step 1. Cut a piece of Kraft Resist paper to fit the notebook cover and round the right-hand corners.
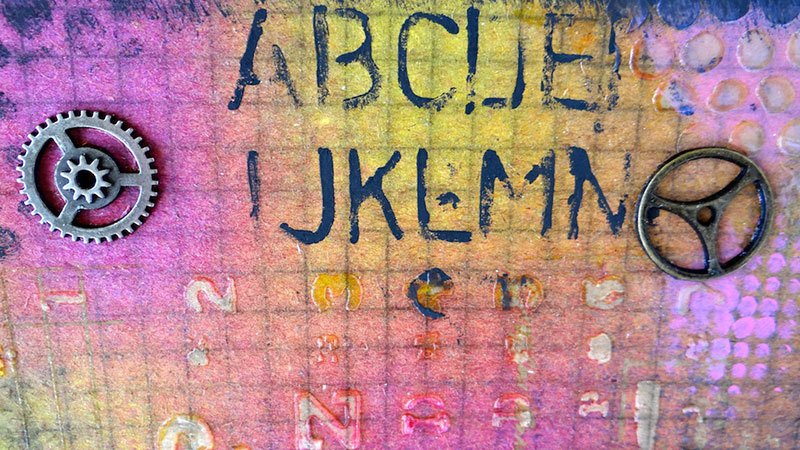
Step 2. Apply gel medium through both the Eye Chart and Bubble stencils.
Step 3. Note that while wet the gel medium is white. Carefully lift your stencil off and let dry.
Step 4. Scrape off excess gel onto a clean art journal page or blank tag (you’ll have a great start on your next project); clean your stencil with water or a baby wipe.
When dry, the gel medium is clear.
Step 5. Apply 3 colors of Dylusions Ink Sprays to the Kraft Resist paper and let dry. Wipe off all of the ‘resist’ areas with a baby wipe. Apply adhesive with the Xyron Creative Station and attach cover to notebook.
Step 6. Apply black paint through the Schoolhouse stencil using a Distress Paint Dabber.
Step 7. Diecut the Washer Board and Styled Label; dry emboss them with Texture Fades to add interest.
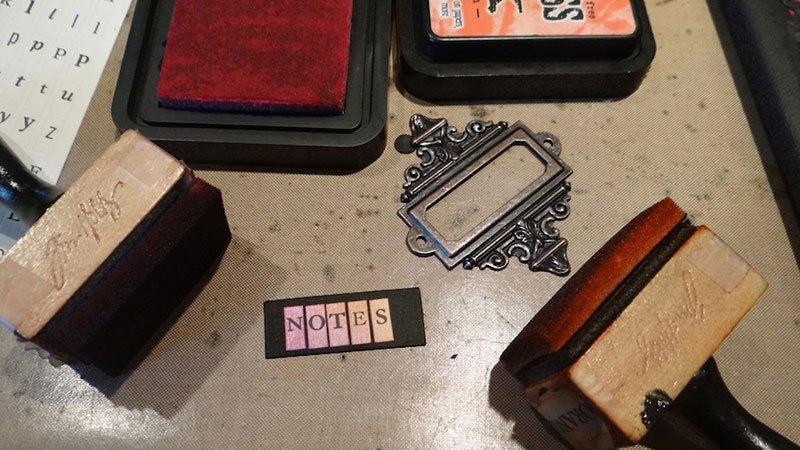
Step 8. Snip the ends off the Styled Label die to make it a good fit for the Idea-ology Ornate Plate.
Step 9. Ink mini alphabet stickers with Distress Inks and an Ink Blending Tool.
Step 10. Attach Styled Label, Filmstrip, and Ornate Plate to cover. Fill the center of the Ornate Plate (and the center of one of the open sprockets) with Glossy Accents. Let dry overnight.
The Glossy Accents looks great once dry.
Step 11. Fill in random stenciling in open areas with Distress Paints.
Step 12. Attach diecut border and remaining Idea-ology pieces with Glossy Accents.
Enjoy your altered notebook!


