by Audrey Pettit

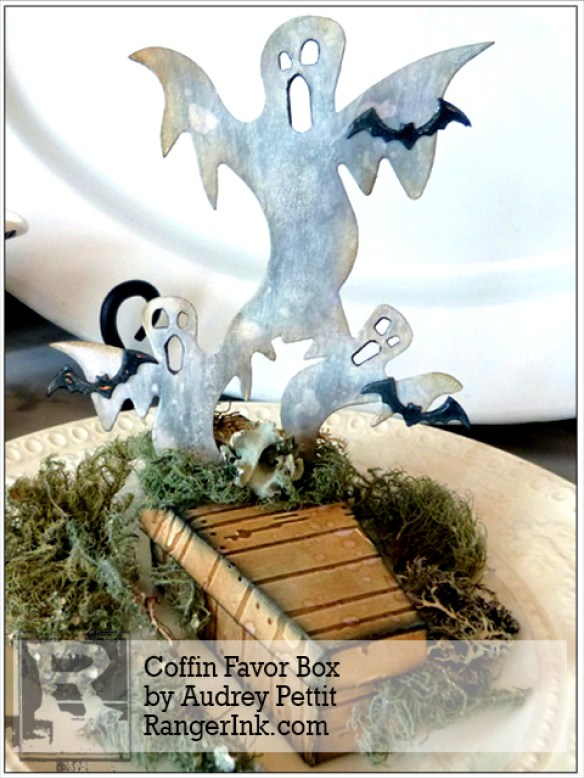
Coffin Favor Box by Audrey Pettit
- Materials
- Instructions
- Tim Holtz® Distress Ink Pads: Antique Linen, Frayed Burlap, Gathered Twigs, Pumice Ston, Black Soot
- Tim Holtz® Distress Marker Black Soot
- Tim Holtz Distress® Rock Candy Crackle Paint
- Ranger Watercolor Paper
- Ranger Glossy Accents™
- Ranger Multi-Medium Matte
- Ranger Mister
- Ranger Mini Blending Tool
- Ranger Heat it™ Craft Tool
- Ranger Non-Stick Craft Sheet™
- Tim Holtz Alterations by Sizzix: Vagabond Die Cutting Machine, Ghosts Bigz Die, Coffin Box Movers & Shapers Die, Tiny Bat, Cross & Shield Movers & Shapers Dies, Wood Planks Texture Fade Embossing Folder
- Craft Knife
Instructions
 Create some spooky fun coffin party favor boxes for your Halloween gatherings this year. Fill them with candy or any small trinkets or gifts for a fabulous table setting or take-away gift favor. Your guests will enjoy opening the boxes to find the hidden surprise inside, and better yet, can enjoy adding these boxes into their holiday décor for the rest of the season.
 These boxes are easy and fun to make, thanks to the help of some amazing new Tim Holtz dies. And with a huge range of Distress colors to choose from, you can create party favors to suit any style or theme you wish. Let’s take a closer look.
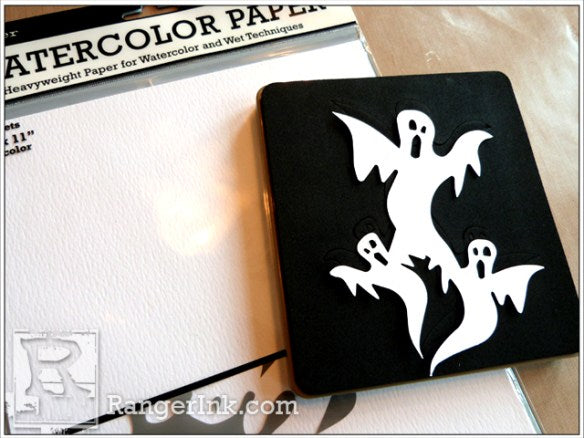
 To begin, die cut the new Tim Holtz Alterations Ghosts die from Ranger Watercolor Paper.
 Dab Picket Fence Distress Paint onto a Non-Stick Craft Sheet, and lightly mist the paint with water. Press the front of the ghost die cut into the paint mixture, and then flip the die cut over and press the back side into the paint, too. Since the ghosts can be seen from either side of the favor box, you want to make sure to decorate both sides. Set the die cut aside and let it dry completely, or speed up the process with a heat tool.
 Dab Pumice Stone and Antique Linen Distress Ink randomly onto the Craft Sheet and mist the inks with water. Press and drag the ghost die cut through the ink mixture. Then repeat the process for the back side. Allow the die cut to dry completely.
 Apply Frayed Burlap Distress Ink to the edges of both the front and back side of the ghost die cut using a Mini Ink Blending Tool. Trace around the inside openings of the mouths and eyes using a Black Soot Distress Marker.
 Paint one side of the ghost die cut with Clear Rock Candy Distress Crackle Paint, and then set the ghosts aside to dry completely. Once the crackle paint is totally dry, flip the ghosts over and crackle paint the back side. Set it aside to dry.
 While the crackle paint dries, we’ll move on to die cutting the bats. Using an Ink Blending Tool with foam, apply Black Soot Distress Ink onto a piece of leftover watercolor paper. Ink enough area to die cut several bats from the new Tiny Bat, Cross & Shield Movers & Shapers die set. I die cut three bats for the front, and since the back side of the ghosts can be seen, too, I die cut three more bats to add to the back.
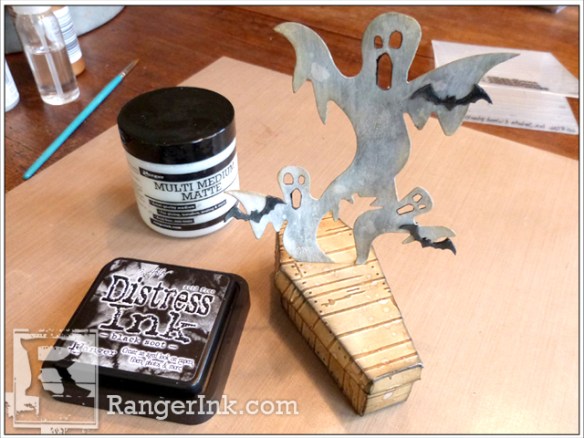
 Adhere the bat die cuts to the front of the ghost die cut using Multi Medium Matte. Flip the die cut over, and lining up the bats, adhere the bats to the back side, too. Apply Glossy Accents to the bats on one side, and allow them to dry completely. Then flip the ghosts over and add Glossy Accents to the bats on the back. Let dry.
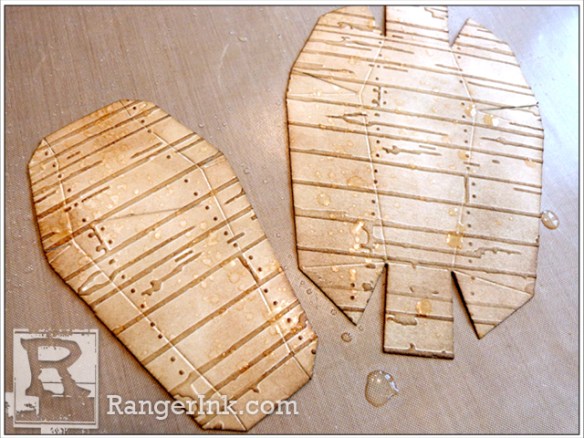
 Die cut the new Tim Holtz Alterations Coffin Box Movers & Shapes die from watercolor paper. Emboss both the top and bottom pieces with the Wood Planks Texture Fades Embossing Folder.
 Make a 1″ diagonal slit in the lid of the coffin box using a craft knife. Later we’ll slide the tails of the ghosts through the slit of the finished box.
 Ink both pieces of the coffin box with Frayed Burlap Distress Ink using an Ink Blending Tool with Foam. And then ink portions of both pieces with darker Gathered Twigs Distress Ink to get nice random ink coloration.
 Spritz a liberal amount of water into your hand, and flick the water droplets onto both pieces of the coffin box. Allow to dry.
 Fold the coffin lid along all the crease lines. Apply Black Soot Distress Ink to the edges using the Ink Blending Tool with Foam. Adhere the flaps with Multi-Medium Matte. Repeat the process with the bottom of the coffin box.
 Put the coffin lid onto the bottom of the box, and then slide the ghost die cut through the slit we made earlier with the craft knife.
 Adhere a bit of moss to the coffin using Multi-Medium Matte.
 Enjoy!


