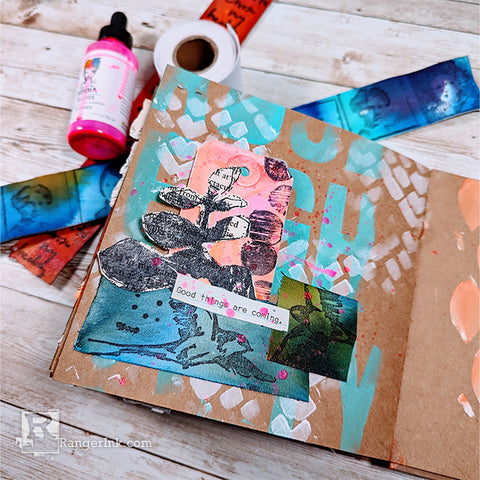
Dina Wakley Stickyback Canvas Tape Journal Page by Laura Dame
- Materials
- Instructions
Dina Wakley MEdia Glosses - Stoked, Radical, White, Black, Turquoise, Lapis, Fuchsia, Cheddar, Carnation
Dina Wakley MEdia Ultra Thick Gel Medium
Dina Wakley MEdia Stamp - Stencil - Alpha
Dina Wakley MEdia Stencil Mosaic Cobblestone
Dina Wakley MEdia Gesso White
Dina Wakley MEdia Stickyback Canvas Tape 1.5”
Dina Wakley MEdia White Tag Assortment #3 & #5
Dina Wakley MEdia Acrylic Paint - Turquoise
Dina Wakley MEdia Stamp - Fly High
Dina Wakley MEdia Stamp - Pocket Squares
Dina Wakley MEdia Stamp - Healing and Light
Ranger Mini Ink Blending Tool
Archival Ink™ Pad Jet Black
Other:
Stamp Block
Instructions
The new Stickyback Canvas 1.5” tape is the perfect size for making your own decorative additions to journal pages. It’s almost like your own, super sticky washi tape!
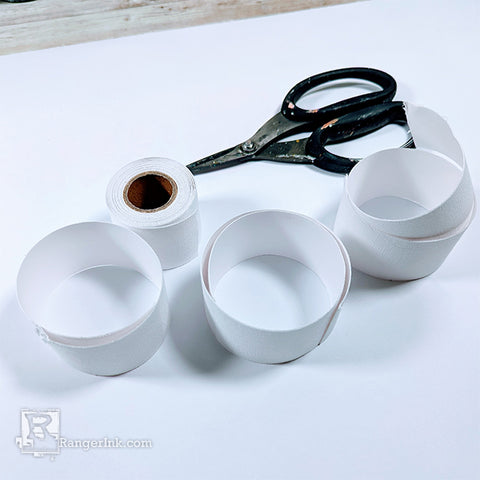
Step 1: Cut strips of Stickyback Canvas 1.5” tape.
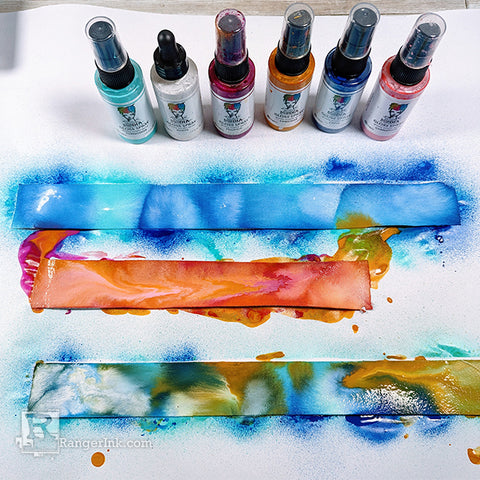
Step 2: Spray and spill a variety of glosses over the strips. Let the colors spread and flow together and allow it to dry.
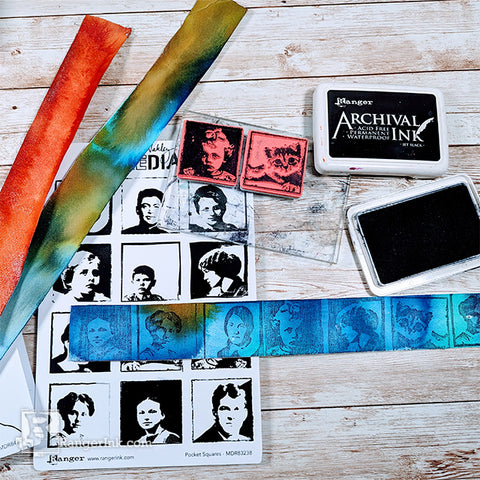
Step 3: Using Archival Ink, stamp images onto the Stickyback canvas strips.
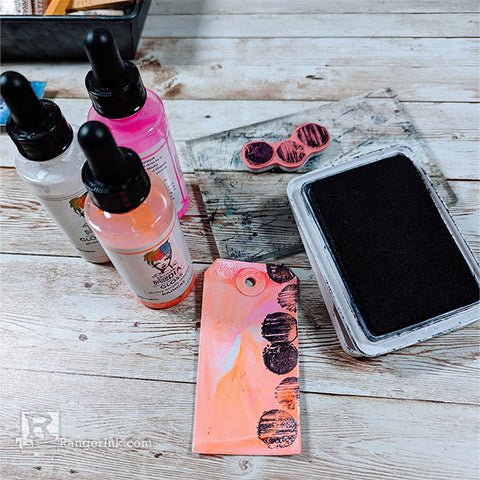
Step 4: Spread some glosses on a #3 tag. Here, Stoked, Radical, and White were used. Add a patterned stamp along one of the edges.
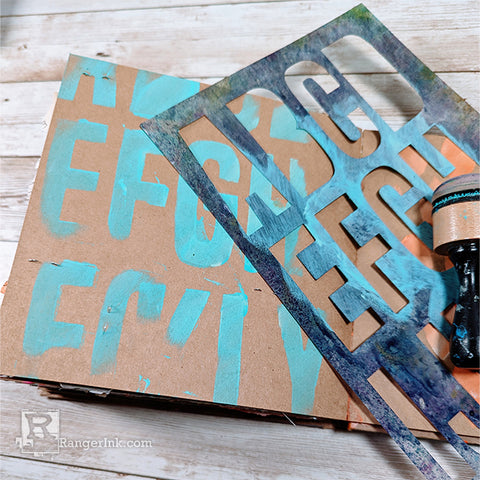
Step 5: Add some stenciling to a page in the Kraft Journal.
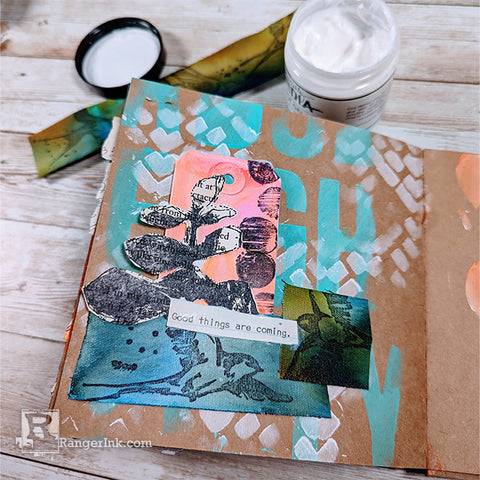
Step 6: Starting with the glossed #3 tag, build a focal point for the page. With a glue stick or Ultra Thick Gel Medium, attach a stamped botanical (leftover from the previous project) to the tag. Adhere the tag to the page using the decorated Stickyback Canvas tape, allowing that to be a part of the focal point. If you’d like, adhere the top of the tag to the page with Ultra Thick Gel Medium for more stability.
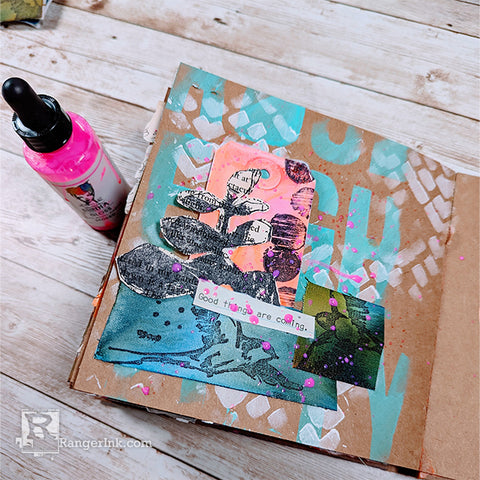
Step 7: Add a phrase from the Typed Ledge Papers. Splatter with Stoked Gloss.
