


Channel your inner artist with today's tutorial, where Miriam Prantner shares a simple technique for painting with Liquid Pearls to create unique backgrounds with big impact. These quick cards are also easily mass producible, allowing you to make a bunch of cards in a hurry.

Mark Making with Liquid Pearls by Miriam Prantner
- Materials
- Instructions
Instructions
Hi friends, today I’m sharing how to create simple and impactful card backgrounds using Liquid Pearls for mark making.

Step 1: Cut Distress Black Heavystock into 4 1/4” x 5 1/2” panels and assemble supplies: selected Liquid Pearls colors, Ranger Artist Brush(es), and water.

Step 2: Squeeze out some of your first color onto your craft mat and dilute a little with water.

Step 3: Randomly paint vertical marks onto heavystock panels.


Step 4: Repeat with additional colors. There is no need for marks to be uniform, variation just adds to the effect.


Step 5: For a fuller pattern, repeat steps 3-4. Using a thinner brush adds another level of texture. Feel free to paint over/overlap your marks as Liquid Pearls dry very quickly.

Step 6: Use Anti-Static Pouch to treat black heavystock and then ink/emboss sentiment using Clear/Emboss It Pad and Silver Embossing Powder. Fussy Cut sentiment.


Step 7: Assemble cards: trim down painted panels and adhere to Make Art Perfect Cardstock Landscape Cards. Adhere sentiments with foam adhesive.
 My name is Miriam Prantner, and I live in Arlington, Virginia with my husband, two daughters, and lemon beagle. I am a lifelong crafter of all genres, although these days I focus mostly on crochet and paper crafting. In addition to making pretty things, I design products (stamps/stencils/dies) for Simon Says Stamp, and also taught a class for Craftsy, Fresh Eyes on your Cardmaking Supplies. To see more of my work, check out my blog: mprantner.blogspot.com, and follow me on instagram @mprantner.
Related Posts
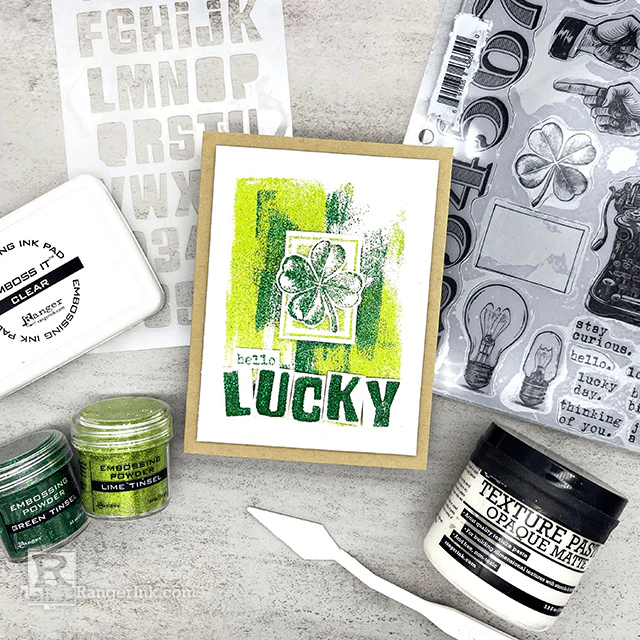

Ranger Embossing Powder Lucky Card by Lauren Bergold
A rainbow of Ranger Embossing Powders, coordinating Archival Ink, and a sprinkle of golden Stickles come together in this festive...
Read More
