


Get ready to dazzle this holiday season with this stunning shimmering Christmas card by Jess Francisco! She’s used the pearlescent magic of Distress Holiday Mica Stains and other Tim Holtz favorites to bring her festive vision to life.

Distress Mica Stain Christmas Card by Jess Francisco
- Materials
- Instructions
Tim Holtz Stampers Anonymous Layering Stencil Splash
Tim Holtz Distress® Winter Frost Mica Stain
Tim Holtz Distress® Shiny Bauble Mica Stain
Tim Holtz Distress® Merry Mint Mica Stain
Tim Holtz Distress® Christmas Grit Paste Snowfall
Simon Hurley create. Acrylic Stamping Blocks
Tim Holtz Distress Palette Knife
Embossing Powder Super Fine White
Ranger Anti-Static Pouch
Emboss It™ Ink Pad Clear
Other:
Foam Tape
White Cardstock
Black Cardstock
Paper Trimmer
Scissors
Heat Tool

I’m Jess Francisco from Love, Jess or @lovejessco. I live in Chesapeake with my husband and our sons who are 7 and 4 years old. They keep me busy, so most of my crafting is done while they’re in bed.
I have been creating for as long as I can remember, but I started my card making journey in 2015. I have learned so many techniques and added so many new products to my growing list of favorites. Now that I have a few years under my belt, I’m excited to share what I’ve learned with the crafting community! You can find me on social media as @lovejessco or Love, Jess.
Instructions
The holiday season is just around the corner already, can you believe it? Let's get started on some of those Christmas cards! This card features some of the gorgeous Christmas Distress Mica Stains from Tim Holtz. Let's walk through the steps together and you'll have your finished card completed in no time!

Step 1: Lay the Splash stencil over a piece of white cardstock. Spray the Mica Stains through the stencil. Start with Winter Frost, then use Shiny Bauble (overlapping the sprayed area a bit). Finally, use Merry Mint, also overlapping the previous color for a beautiful gradient blend. Remove the stencil carefully and set the background aside to dry.

Step 2: With a palette knife, spread the Snowfall Grit Paste on the edges of a piece of black cardstock cut to approximately 5.5” x 3.75”. Set aside to dry.

Step 3: On a piece of white cardstock, stamp the Merry Christmas sentiment five times in Jet Black Archival Ink. With a pair of scissors, trim the sentiments so that no white border remains.

Step 4: Using your preferred adhesive, attach the black cardstock to a white A2 sized card base.

Step 5: Trim the white edges off the stenciled background so it measures approximately 5.5” x 3.25”. Adhere foam tape strips to the back of the cardstock and place the background on top of the black cardstock with the Grit Paste.

Step 6: Apply Multi Medium (Matte) to the back of each sentiment strip and attach it to the stenciled background.

All done! Your card is finished and ready to be sent out into the world
I’m Jess Francisco from Love, Jess or @lovejessco. I live in Chesapeake with my husband and our sons who are 7 and 4 years old. They keep me busy, so most of my crafting is done while they’re in bed.
I have been creating for as long as I can remember, but I started my card making journey in 2015. I have learned so many techniques and added so many new products to my growing list of favorites. Now that I have a few years under my belt, I’m excited to share what I’ve learned with the crafting community! You can find me on social media as @lovejessco or Love, Jess.
Related Posts

Mark Making with Liquid Pearls by Miriam Prantner
Channel your inner artist with today's tutorial, where Miriam Prantner shares a simple technique for painting with Liquid...
Read More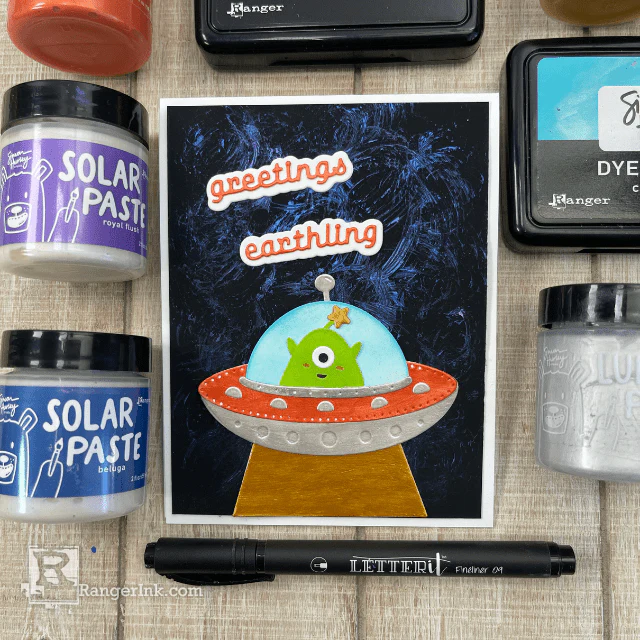
Simon Hurley UFO Friendship Card by Patti Behan
Join Patti Behan as she takes you step-by-step through creating a stunning friendship card that's truly out of this...
Read More