Follow along with Taylor Huizenga as she goes through the process on how to create this Pumpkin Shaker Card!

Pumpkin Shaker Card by Taylor Huizenga
- Materials
- Instructions
- Stickles™ Glitter Glue: Orange Slice, Lime Green, Lavender, Black Sparkle
- Tim Holtz Distress® Ink Pads: Carved Pumpkin, Twisted Citron, Forest Moss
- Ranger Mini Blending Tool with Foam
- Ranger Glossy Accents™
- Letter It™ Adhesives: Black Adhesive Foam
- Black Cardstock
- White Cardstock
- Tim Holtz Sizzix Movers & Shapers Die: Pumpkin Jack, Mini Scary Jack-o-Lantern, Mini Silly Jack-o-Lantern
- Tim Holtz Sizzix Thinlits: Halloween Words Script
- Transparency Sheet
Instructions

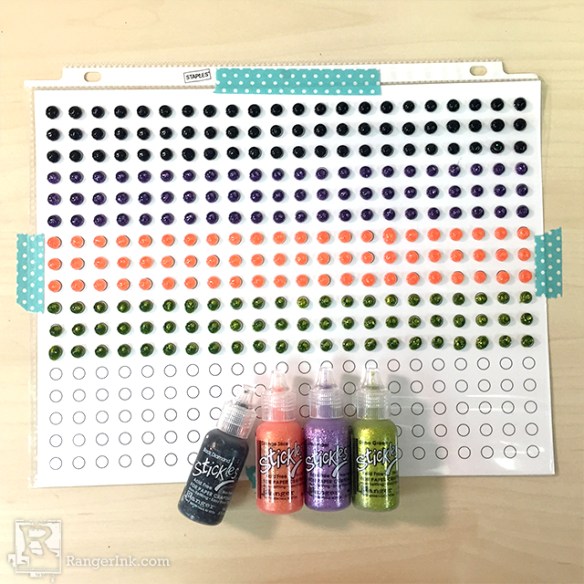
Step 1: Lay a transparency sheet down and begin creating dots of Stickles to make Stickles confetti in Black Sparkle, Orange Slice, Lavender and Lime Green. Allow to dry overnight. Remove once full dried and put aside.
Click here to see the full tutorial on creating Stickles confetti!

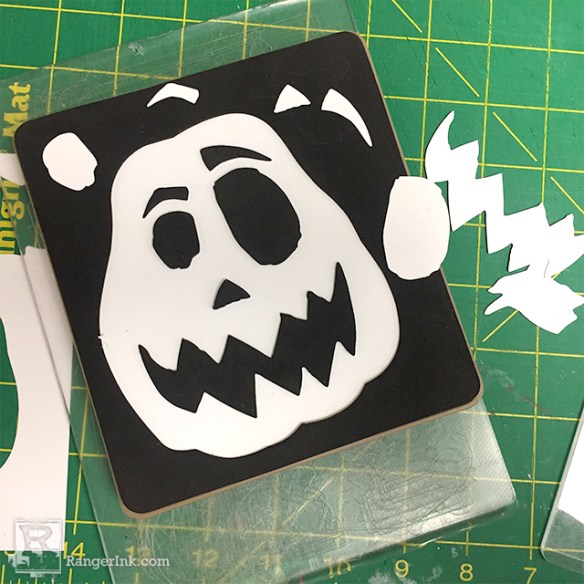
Step 2: Use the Tim Holtz Sizzix Pumpkin Jack and Mini Jack-o-Lantern faces to create a pumpkin face. Cut out of white cardstock using the Vagabond.

Step 3: Remove the inside pieces and cut the pumpkin shape out of black cardstock. Cut another pumpkin out of clear transparency. Put both aside for later.

Step 4: Use Tim Holtz Distress® Ink in Carved Pumpkin and Ranger Mini Ink Blending Tool to add color to the jack-o-lantern.

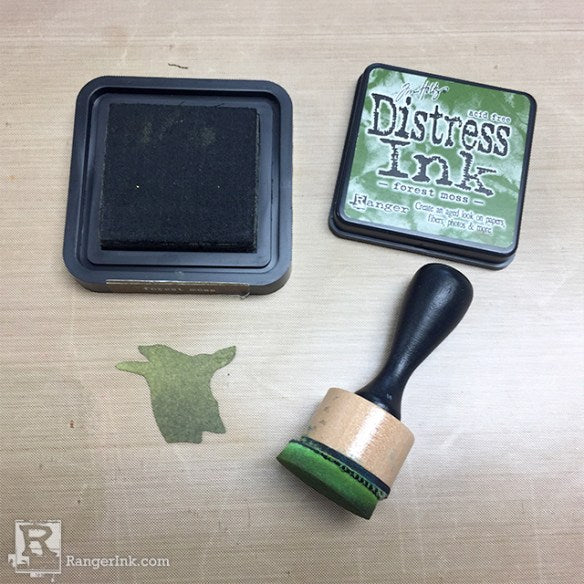
Step 5: Use Tim Holtz Distress® Ink in Forest Moss and Ranger Mini Ink Blending Tool to add color to the stem.

Step 6: Apply Ranger Glossy Accents to the back of the stem and adhere to the top of the jack-o-lantern.

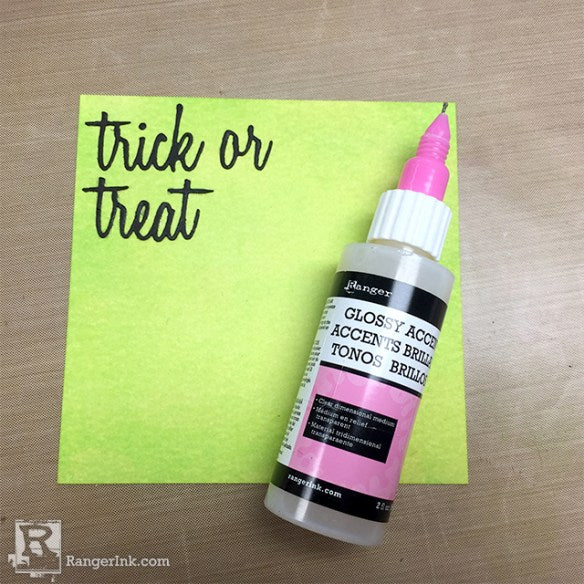
Step 7: Cut a piece of 5” x 5” white cardstock and add Twisted Citron Distress® Ink with a blending tool to completely cover the panel.

Step 8: Use the Vagabond and Tim Holtz Sizzix Thinlits Halloween Words Script to cut out “Trick or Treat” out of black cardstock. Adhere to the Twisted Citron panel in the top left corner.

Step 9: Use Glossy Accents to adhere the transparency pumpkin shape to the back of the inked pumpkin.

Step 10: Create a border of Letter It™ Black Adhesive Foam around the entire edge of the pumpkin. For this particular card, I created a double layer of adhesive foam.

Step 11: Take all the Stickles confetti pieces that have now dried and add them to the center of the card. Be sure to avoid the sticky backs of the adhesive foam.

Step 12: Use the piece of black cardstock the you cut in the shape of the pumpkin and apply to the back of the exposed adhesive foam to create a back. Trim any excess adhesive foam from the edges.

Step 13: Use Glossy Accents to adhere the shaker jack-o-lantern to the Twisted Citron inked panel. Adhere full panel to a 5”x 10” top folding card.


